IVY DAY PROGRAM
PART 2
|
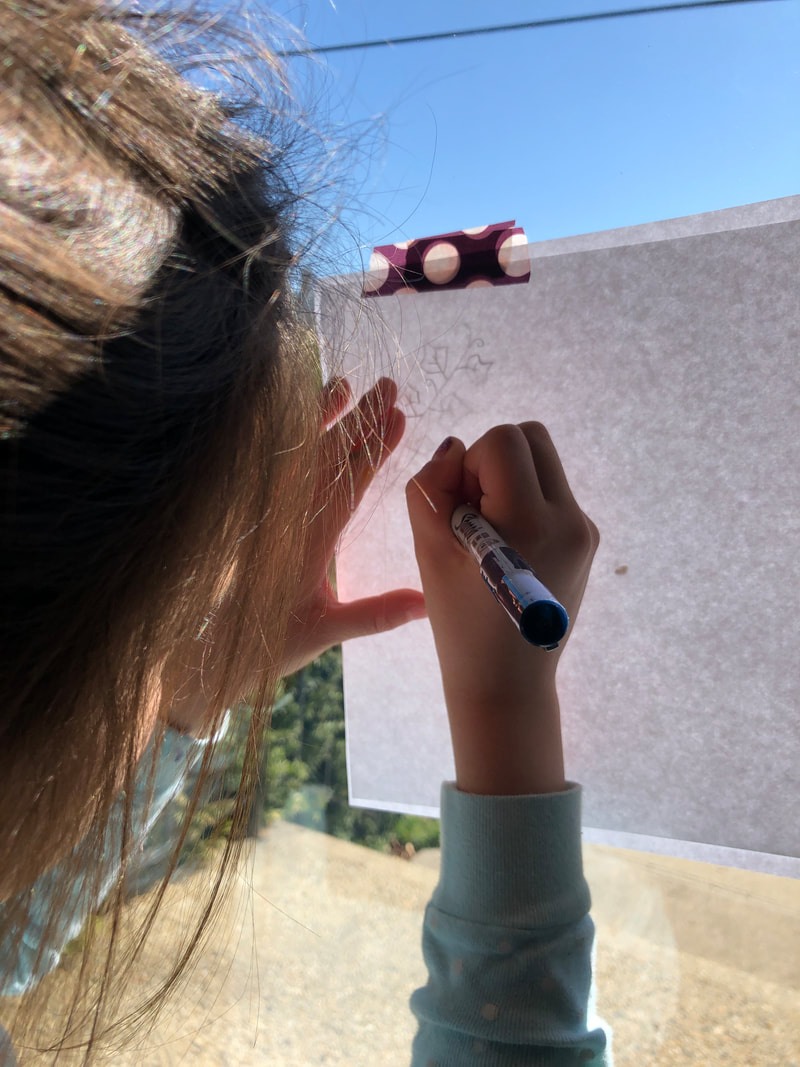
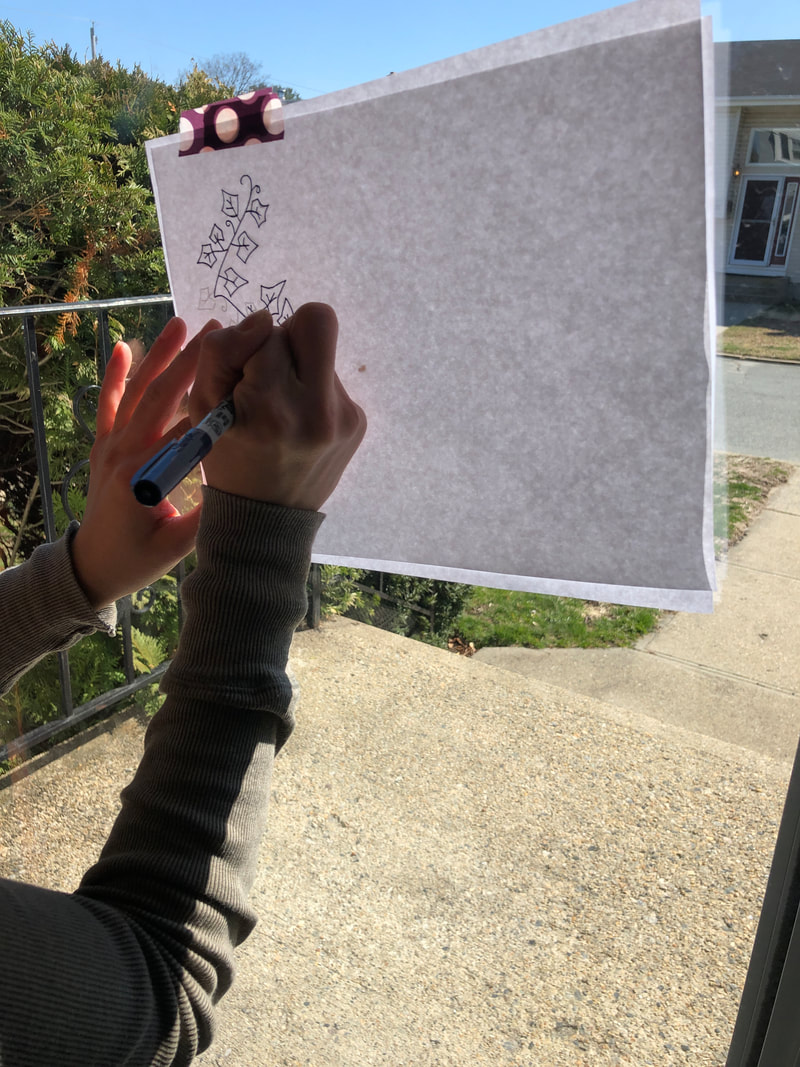
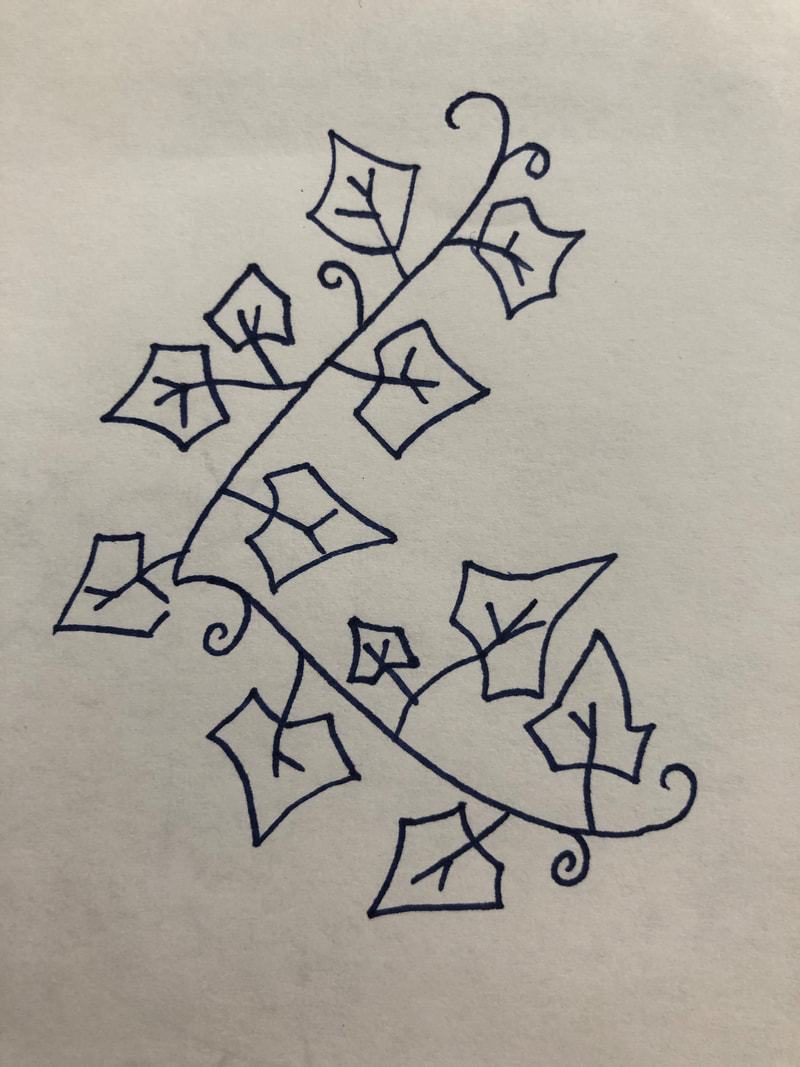
1. Trace your design onto a blank white sheet of paper using a thin Sharpie or something similar. I used a door with glass on it so that the light could shine through and I could see my design better.
Things to keep in mind: - space out each design from each other. This will be helpful in future. - if you make a mistake you can fix it with white out or white paint or in the photos app on your phone. - trace a few single leaves onto the final white paper. This will be helpful when we start to use Illustrator. |
|
|
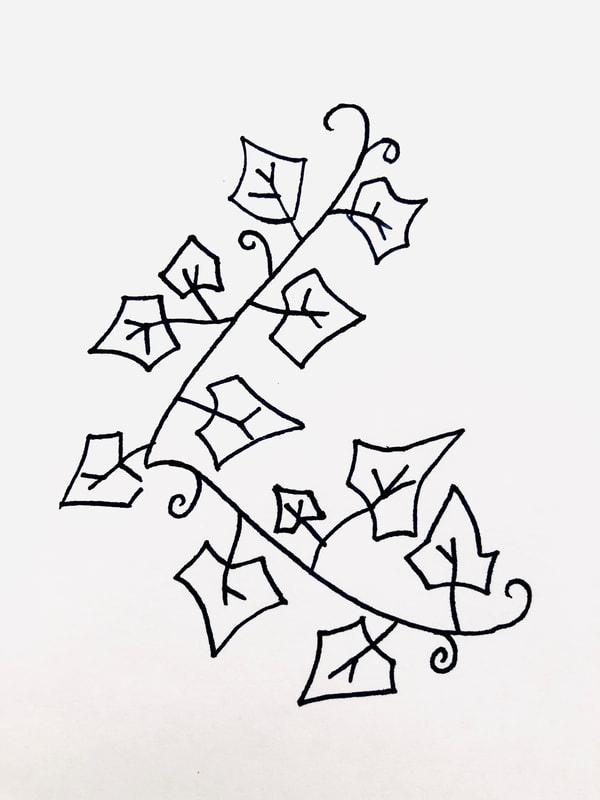
2. Take a close look at your Sharpie tracing to make sure that there are not any openings in the sketch. All shapes of the same color need to be closed off.* Think about this as a coloring book.
Note: We will be able to change the color of the leaves and the outline later in Illustrator. *Notice where the finger is pointing. That should be a closed shape not open. |

|
|
3. Take a photo of each individual vine shape. You should have 5 photos in total.
|
|
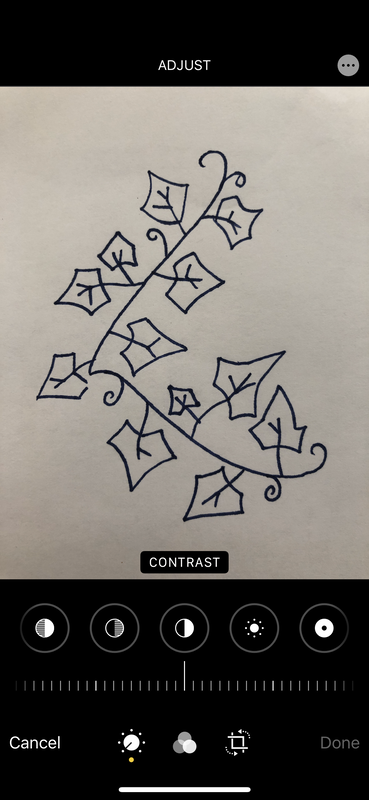
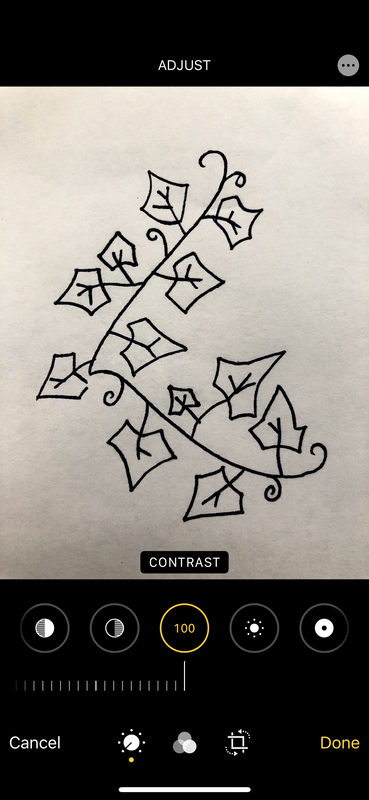
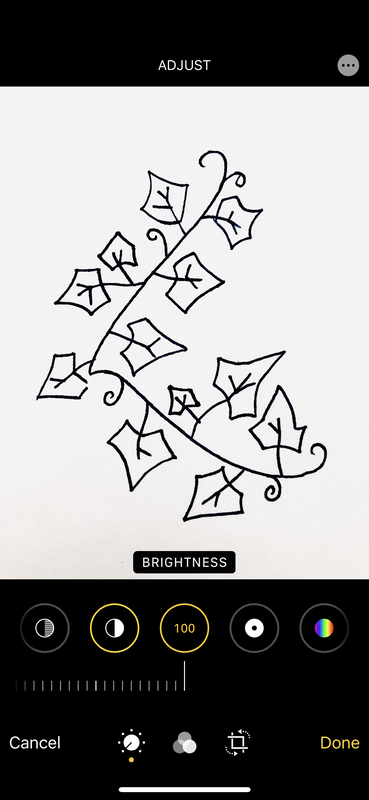
4. Use the Camera app in your phone to edit the photograph. Notice the steps I took below. Your goal is to have a photo that has as much contrast as possible. All black and white without any gray.
|
|

|
|
5. Save each of your 5 adjusted photographs and upload them to the Google Classroom assignment by Friday at midnight.
PART 1
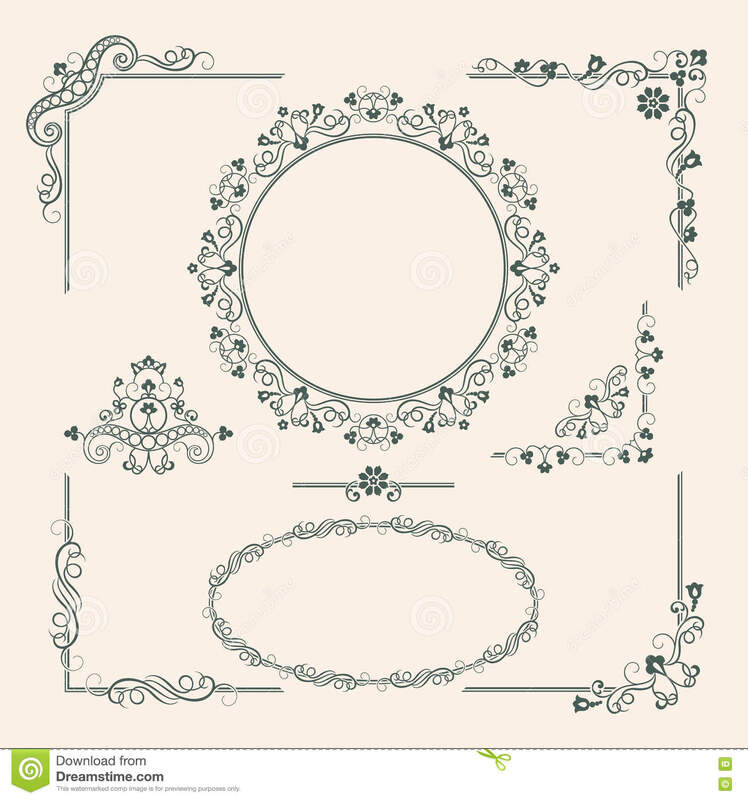
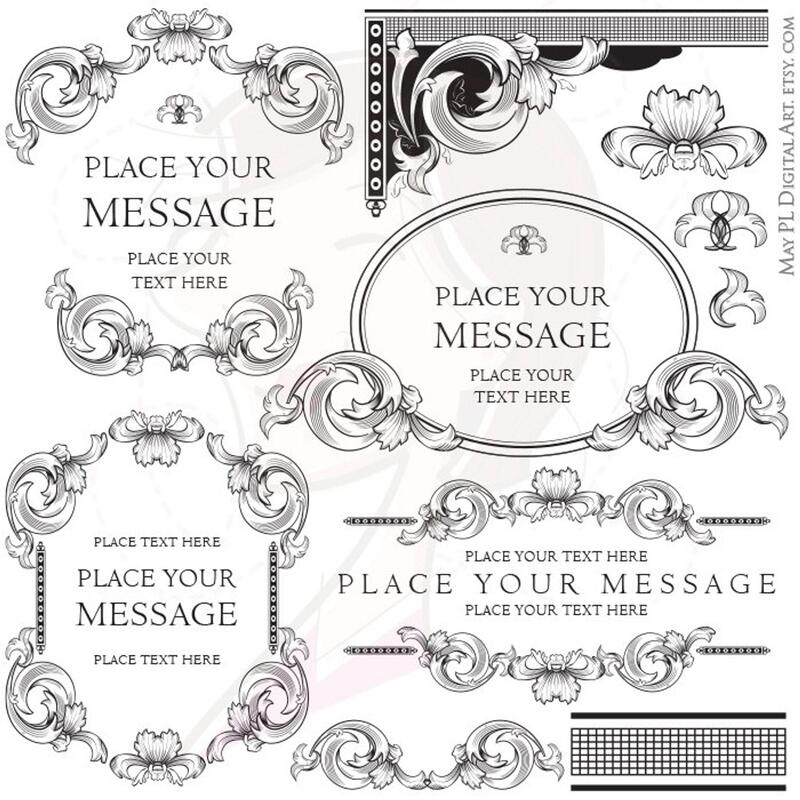
These are samples of past Ivy Day designs. Notice the different formats: circles, corner pieces, single leaves, straight lines, arch. These will be used on the Ivy Day program so the more variety the better.
STEPS:
1. Review the samples below from past students. I have also included samples of other ornamental designs to give you an idea of the purpose of your ivy designs. Click the "IVY" button to see some different leaf shapes for options.
2. Practice sketching ivy leaf shapes on paper. Once you feel comfortable with a specific ivy leaf you should continue with that shape.
3. Now think about what you would like the different vine shapes to be. Sketch these and then start to add leaves to them. (circles, corner pieces, single/groups of leaves, straight lines, arch) You should have 5 different shapes of your ivy.
4. Take a photo of these PENCIL sketches and upload them to the Google Classroom assignment "Ivy Day sketches for Ivy Day Program: Part1" by midnight on Friday, 3/27. I will then leave you feedback.
**Please feel free to email me with any questions. You may also email me what you have so far so that I can give you feedback along the way.